

- When quality can actually be checked
- What stays checkable, and what disappears
- How to check concrete quality
- Steel, cover and the checks that must happen before the pour
- The stage-by-stage inspection checklist
- Waterproofing: three places, three moments
- What you can check with your own hands
- The paperwork that is the real proof
- What changes in Hyderabad and in Goa
- How we handle this
- When we are not the right fit
Almost everything that decides whether a house lasts is invisible by the time you move in. This is how to check construction quality yourself while it can still be checked: what to look at, when to look, which Indian Standard to quote, and the paperwork to ask for before concrete goes in.
One of the guides currently ranking for this topic tells you to test concrete by trying to drive a nail into a wall. If the nail goes in, the concrete is poor. That advice is worse than useless, because by the time you can push a nail into a wall, the pour happened months ago, the steel is buried, and nothing you learn changes anything.
The problems you can see are never the expensive ones. It is the steel nobody counted before the pour, the cover blocks that were skipped on the far side of the beam, the curing that stopped on day three because the site needed the floor. All sealed under plaster before anyone thought to look.
So the real skill is not inspection. It is timing. Every check below is tied to the moment it is still possible, and to a number you can point at in an Indian Standard rather than an opinion you have to argue.
When quality can actually be checked
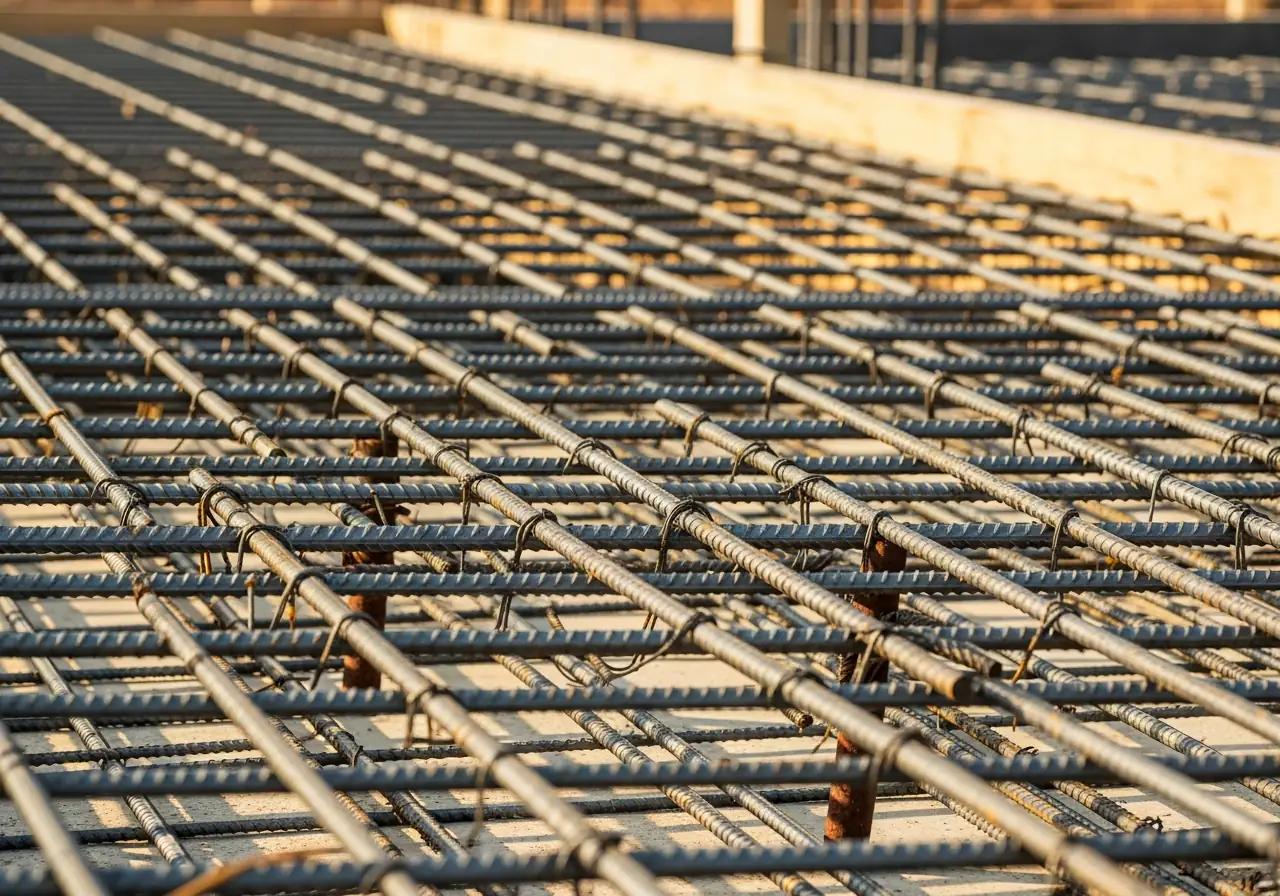
Structural quality is decided at four moments. When the steel is tied and before the shuttering closes around it. In the hour before the concrete is poured. During the seven to fourteen days the concrete is kept wet so it hardens properly. And at the twenty-eight day test, where sample cubes of your own concrete are crushed to see how strong it really came out. Miss those four and all you can inspect afterwards is the paint and the tiles, which tell you almost nothing about the structure.
This is the difference between the guides written for flat buyers and what a plot owner actually needs. Lodha’s homebuyer handbook on checking construction quality runs to roughly 1,100 words and is built around a walkthrough: paperwork, fixtures, amenities, safety. Confident Group’s version is a similar length and adds soil type and plaster cracks. Neither cites a single Indian Standard, and neither has a stage-by-stage schedule, because both assume the house is already built.
If you are building on your own plot, you have the one advantage a flat buyer never gets: you can be there before it is covered. Use it. Walk the site the evening before a pour, not the morning after. The stage sequence of a house build tells you exactly when each of those windows opens.
What stays checkable, and what disappears
Split the build into two lists. Work that stays visible for the life of the house, and work that is covered within hours of being done. Everything on the second list is expensive to put right. Everything on the first list is cheap. That single split tells you which days you need to be on site.
This is the part almost nobody explains before you sign. Most owners visit hardest in the last two months, when tiles are going down and paint is going up, because that is when the house finally looks like a house. By then the structure is finished, the bathrooms are sealed and the pipes are inside the plaster.
Here is the work you can still inspect long after you have moved in.
| Work | When you can check it | If it is wrong |
|---|---|---|
| Paint and putty | Any day, forever | Re-do the affected wall. Quick, and nothing is broken to reach it. |
| Wood polish and veneer | Any day, forever | Sand and re-polish in place. |
| Door and window hardware | Any day, forever | Unscrew and replace the item. |
| Taps, showers, switch plates, lights | Any day, forever | Swap the fitting. |
| Tile laying, level and grouting | Any day, forever | Annoying, but it is one room and one trade. |
| Kitchen and wardrobe joinery | Any day, forever | Adjust, re-do a shutter, replace a runner. |
And here is the work that disappears, with the window you get and what it takes to reach it later.
| Work | Your window to check it | To fix it later you must |
|---|---|---|
| Steel size, spacing, cover and lap lengths | The hours before the pour | Break open a structural member. That is surgery on the house, not a repair. |
| Concrete mix, and how many days it was kept wet | The pour day, then every day of curing | Nothing can be undone. Under-cured concrete stays under-cured. |
| Waterproofing in bathrooms and sunken slabs | Before the sunken portion is filled | Break the floor tiles, remove the fill, redo, refill, retile. |
| Waterproofing on terraces | Before screed and tiles go over it | Strip the terrace back to the slab. |
| Plumbing lines and pressure testing | Before plastering | Chase open finished walls, then re-plaster, re-putty, re-paint. |
| Electrical conduit runs and earthing | Before plastering | The same walls and the same mess, and an earthing fault is a safety problem. |
| Anti-termite treatment at plinth | Before the floor slab and flooring | You cannot treat under a finished floor. You treat around it. |
Read the two lists together and one conclusion falls out on its own. Everything expensive is invisible. Everything visible is cheap.
That is why so many owner complaints about a finished house are about grouting. Grouting is what the owner could still see. Your job is not to watch the whole build. It is to be present, or represented by someone accountable to you, on the small number of mornings when the expensive things are still in the open.
How to check concrete quality
Concrete is checked three ways and all three are ordinary site practice: a slump test on the fresh mix before it is placed, cubes cast from that same batch and crushed at 28 days, and curing kept up for the full period. If a site cannot show you slump readings and cube results, it is not testing concrete, it is guessing.
Start with slump. IS 1199 describes the test with a cone 300 mm high, 200 mm across the base and 100 mm across the top, filled in four layers with 25 strokes of a 16 mm tamping rod on each layer. It takes about five minutes and any site can do it. Typical working ranges are roughly 25 to 50 mm for mass concrete, 50 to 100 mm for footings and slabs, 75 to 100 mm for beams and columns, and 100 to 150 mm for pumped concrete. Slump that keeps drifting higher usually means water is being added at the mixer to make placing easier, and every litre of extra water costs strength.
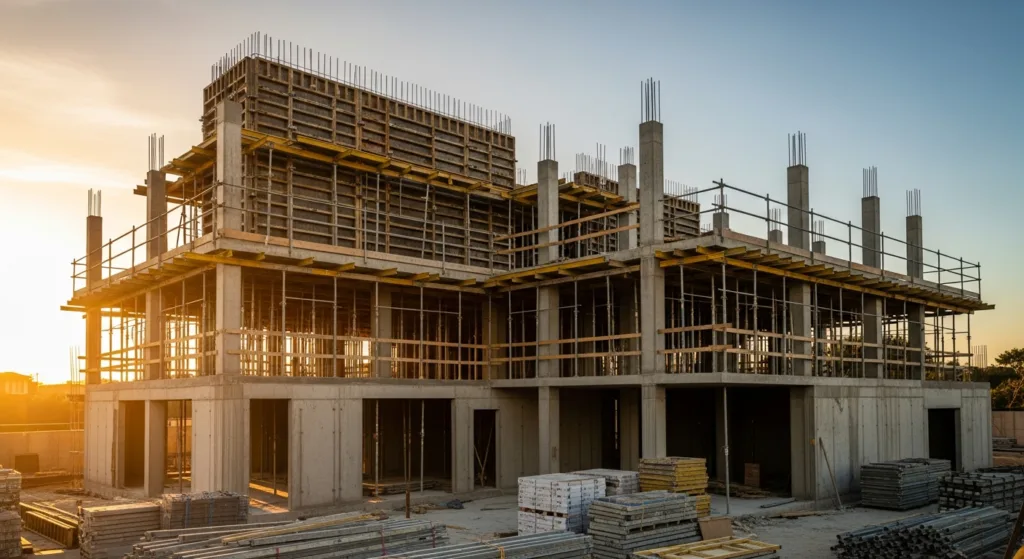
Then cubes. Under IS 516, a standard specimen is a 150 mm cube, three cubes make one sample, they are demoulded after about 24 hours, cured in water at 27 plus or minus 2 degrees Celsius, and crushed at 28 days with the load applied at 14 N/mm² per minute. The reported strength is the average of the three.
How many samples? IS 456:2000 sets the frequency by volume: one sample for 1 to 5 cubic metres of concrete, two for 6 to 15, three for 16 to 30, four for 31 to 50, and four plus one more for every additional 50 cubic metres beyond that. A single house slab pour easily crosses 30 cubic metres, so three samples, meaning nine cubes, is a reasonable expectation. Ask where the cubes are. On a well-run site they are sitting in a water tank in a corner with the pour date written on them.
One thing worth knowing so nobody talks you out of a bad result. IS 456:2000 defines characteristic strength as the value below which “not more than 5 percent of the test results are expected to fall.” It is a statistical floor, not an average to be waved away.
Steel, cover and the checks that must happen before the pour
Before shuttering closes, check three things: the grade and diameter of the bars, the spacing against the drawing, and the cover blocks on every face including the ones you cannot see from where you are standing. After the pour none of it can be verified, and none of it can be corrected.
Cover is the single most under-checked item on Indian house sites, and it is what decides whether reinforcement rusts. Table 16 of IS 456:2000 sets nominal cover by exposure: 20 mm for mild, 30 mm for moderate, 45 mm for severe, 50 mm for very severe and 75 mm for extreme. The same code adds that cover to column reinforcement shall not be less than 40 mm, and surfaces in contact with earth need at least 50 mm. Bring a steel tape. Measure from the shuttering face to the nearest bar at a few points, including the underside where cover blocks fall off most often.
For the bars themselves, the grades in IS 1786:2008 give you something checkable. Fe 415 requires a minimum yield of 415 N/mm², minimum tensile strength of 485 and minimum elongation of 14.5 percent. Fe 500 requires 500, 545 and 12 percent. Fe 500D, the ductile grade generally preferred in seismic design, requires 500, 565 and 16 percent. Fe 550 requires 550, 585 and 8 percent. Every bar carries a rolled-on mark. Ask for the manufacturer’s test certificate for each lot delivered, and keep it.
Bending matters too, and it is easy to eyeball. IS 2502 fixes a standard hook at nine times the bar diameter and a 90 degree bend allowance at five diameters, with a minimum internal bend radius of two diameters for mild steel and four for high-strength deformed bars. Bars bent tighter than that are damaged at the bend, which is precisely where the load goes. If you want the wider picture on what belongs in the build, our note on choosing materials for a house covers the rest of the list.
| TMT grade (IS 1786:2008) | Minimum yield, N/mm² | Minimum tensile strength, N/mm² | Minimum elongation, percent | Where it usually goes |
|---|---|---|---|---|
| Fe 415 | 415 | 485 | 14.5 | Older specifications, low-rise work |
| Fe 500 | 500 | 545 | 12 | Common general-purpose grade |
| Fe 500D | 500 | 565 | 16 | Higher ductility, favoured in seismic detailing |
| Fe 550 | 550 | 585 | 8 | Heavily loaded members, lower ductility |
The stage-by-stage inspection checklist
Print this and keep it on the site. Each row names the stage, the one check that matters most, how to make that check without technical equipment, and what it costs you if it is wrong and gets covered. The last column is the one that changes behaviour.
| Stage | What to check | How to check it | Cost if it is wrong and gets covered |
|---|---|---|---|
| Before design, at the plot | Soil test done on this plot, not the neighbour’s | Ask for the soil investigation report with the bore log and safe bearing capacity | Foundation sized on a guess. Differential settlement and cracking that no cosmetic repair fixes. |
| Excavation | Depth reaches firm strata and matches the drawing | Tape the depth at four corners against the foundation drawing | Foundation founded in loose fill. Settlement within the first two monsoons. |
| Footing reinforcement | Bar count, spacing, and 50 mm cover to earth-facing surfaces | Count bars in one metre, measure spacing, measure to the nearest bar with a tape | Corrosion begins at the least visible point in the house. Repair means breaking the footing open. |
| Any concrete pour | Slump reading and cubes cast from the same batch | Watch the slump cone test. Ask to see the cubes and the pour date on them. | No proof of strength ever again. A weak slab is discovered by deflection, years later. |
| Column starters and columns | Verticality and 40 mm minimum cover | Spirit level on two adjacent faces, tape to the nearest bar through the shutter gap | Out-of-plumb columns force plaster thickness to correct them, adding dead load and cracking. |
| Slab reinforcement, night before pour | Top steel still sitting up on chairs, not trodden down | Walk the slab and look sideways along the top mat for sagging bars | Top steel in the wrong place does nothing. Cracking over supports, and no way to see why. |
| Curing, days 1 to 14 | Surface genuinely wet, not damp, for the full period | Visit at 7 am and 5 pm. Ponded water or wet hessian, not a dried mat. | Permanent loss of strength and durability. Cannot be recovered by anything done later. |
| Formwork stripping | Props refixed under slabs and beams, not removed wholesale | Look under the slab the day after stripping and count the props | Early deflection locked into the structure. Floors that never level and doors that never sit true. |
| Blockwork | Plumb, line and joints properly filled | Plumb bob or level on the wall face. Tap along the wall for hollow patches. | Thick plaster to correct it, which is the main cause of plaster cracking later. |
| Before plastering, wet areas | Waterproofing applied and flood-tested | Ask for a 24 to 48 hour ponding test on the sunken slab, and watch the level | The costliest failure in an Indian house. Repair means breaking finished floors and walls. |
| Conduiting and plumbing | Pressure test before chases are filled | Ask for the pressure test reading and photographs of routes before they are closed | A leak inside a wall found after the marble is laid. |
| Plaster and finishes | Level, plumb and true corners | Two-metre straight edge against walls and floors; check door frames for square | Every downstream trade inherits the error. Joinery gaps and skirting that never closes. |
Waterproofing: three places, three moments
Almost every leaking new house traces back to one of three places: bathrooms and sunken slabs, terraces and open balconies, or external walls and parapets. Each has one stage at which the work must be done, and each is covered soon after. Ask for the sequence, not the brand.
Waterproofing is only as good as the day it is done. A membrane applied to a bathroom after the sunken portion has already been filled is decoration. The same product, applied in the right order, lasts.
| Where | When it must be done | What covers it | How the failure shows up |
|---|---|---|---|
| Bathrooms and sunken slabs | After the plumbing is laid and tested, before the sunken portion is filled | Fill material, screed, then floor tiles | A damp patch or stain on the ceiling of the room below |
| Terrace and open balconies | On the finished slab, before screed and tiling | Screed and terrace tiles | Ceiling dampness on the top floor, paint peeling in a spreading circle |
| External walls, parapets and joints | With the external plaster and finish | Paint | Damp on the inside face of an outer wall after heavy rain |
The ponding test described in the checklist above is the only free insurance in this list. The area is plugged, flooded and left standing, and the surfaces below are watched for damp. If it holds, cover it. If it does not, you have found the problem on one of the few days when fixing it is easy. Ask whether that test is part of the process before anything is filled or tiled over. The answer tells you a great deal about how the site is run. Our note on waterproofing a house properly goes through each of the three in detail.
What you can check with your own hands
You do not need instruments for most of it. A two-metre straight edge, a spirit level, a steel tape, a plumb bob and a torch will find the large majority of workmanship problems on a house site, and all five fit in a bag.
Hold the straight edge against a plastered wall and rotate it. Gaps tell you the wall is not flat and the next trade will inherit the problem. Put the level on both faces of a column and on window sills. Shine the torch along a wall at a shallow angle, almost parallel to the surface, and every undulation shows as a shadow. This one trick finds more bad plaster than any other check.
Tap along tiled and plastered surfaces with a coin or the back of a screwdriver handle. A hollow sound means the tile or the plaster has not bonded, and it will eventually come loose. Fill a bathroom floor with water and leave it. Come back in a day and look at the ceiling below.
None of this requires you to argue about opinions. Either the wall is plumb or it is not. IS 456:2000 sets its formwork tolerances in millimetres, roughly plus or minus 12 mm on a vertical face and 6 mm on a level, which tells you the standard the trade itself works to.
Stage photographs of everything that gets covered are the only proof that survives.
The paperwork that is the real proof
Once a pour is done, the only evidence that survives is documentary. Ask for four things as a matter of routine: the soil investigation report, mill test certificates for each steel lot, slump readings and 28-day cube results for every pour, and dated photographs of reinforcement before shuttering closed.
This is the gap in every guide currently ranking for this topic. They tell you to look at the house. None of them tells you to build a file. Yet the file is the only thing that lets you check quality after the fact, resolve a disagreement, or hand something meaningful to a structural engineer if a crack appears in year four.
The request is not adversarial and a competent contractor will not flinch at it. Cube testing is routine. Mill certificates come with the steel. The photographs cost nothing. What the request does is change behaviour, because a site that knows the reinforcement will be photographed ties it differently. It also makes the sharpest question you can ask any builder before signing: what test records do you hand over at completion? Listen for whether the answer is specific.
What changes in Hyderabad and in Goa
Goa is a severe exposure environment under IS 456:2000 and needs a different specification, not just better workmanship. Hyderabad’s problems are rock, water and heat during curing. The same checklist applies in both, but the numbers you are checking against are not the same.
Take Goa first. Table 3 of IS 456:2000 classifies concrete exposed to a coastal environment as severe, and surfaces exposed to sea water spray as very severe. Table 5 then requires severe exposure reinforced concrete to be minimum grade M30, with a minimum cement content of 320 kg per cubic metre and a maximum free water-cement ratio of 0.45. Cover goes to 45 mm for severe and 50 mm for very severe. A house in Assagao or Siolim built to a Hyderabad specification will look fine for five years and then start staining and spalling at the corners.
Rain drives the other half of it. An IMD study published in MAUSAM found Goa receives roughly 3,045 mm of its approximately 3,300 mm annual rainfall between June and September, close to 90 percent of the year in four months. Waterproofing detailing at terraces, chajjas and window heads is not a finishing item there, it is structural insurance, and the same is true of the sunken slabs covered in our note on waterproofing a house properly.
Hyderabad is a drier, hotter problem. Concrete cast in April and May loses moisture fast, which makes curing discipline the difference between a good slab and an average one. Rock excavation on Kokapet, Narsingi and Gandipet plots regularly changes foundation assumptions, so the soil report matters more here than people expect. Our house construction work in Hyderabad is specified around both.
How we handle this
We photograph reinforcement before every pour, because once concrete is in, nobody can check it. Cubes are cast and crushed on schedule and the results go to the client, not into a drawer. Curing is logged. None of this is unusual practice; it is simply written down.

You can visit Kingston Park and Ridhira Zen, both completed. Golecha Ghar is under construction right now, and honestly it is the more informative visit, because a finished house hides how it was run. Our project record is here.
When we are not the right fit
If you already have a contractor and want an independent opinion on work in place, hire a structural consultant, not another builder. It is cheaper and the opinion is worth more because nobody stands to win the job.
If you want the lowest tender, we will not be it. Cube testing, cover blocks on every face and full-period curing all cost money, and none of them are visible in the finished house.
And if you enjoy running your own site and being there daily, a labour-rate contract may suit you better than a single-contract build. That is a real answer, not a polite one.
If you would rather someone else carried that discipline, bring us your plot or your drawings and we will show you the check schedule before we talk about anything else.
How can I check construction quality myself without an engineer?
Carry a steel tape, a spirit level, a two-metre straight edge, a plumb bob and a torch. Measure cover to reinforcement before pours, check columns and walls for plumb, run the straight edge over plaster, and shine the torch along surfaces at a shallow angle to reveal undulations. For concrete strength you cannot judge by eye, so ask for slump readings and 28-day cube results instead.
How do I know if my builder is using good quality steel?
Every TMT bar carries a rolled-on grade mark. The grades in IS 1786:2008 set minimums you can check against a test certificate: Fe 500 needs 500 N/mm² yield, 545 tensile strength and 12 percent elongation, while Fe 500D needs 500, 565 and 16 percent. Ask for the manufacturer’s test certificate for each lot delivered and keep it with your file.
What is the correct curing period for a slab?
IS 456:2000 requires exposed concrete surfaces to be kept continuously moist for at least seven days where ordinary Portland cement is used, extended to fourteen days where blended cements or mineral admixtures are used. Wet, not damp. Visit in the morning and again in the evening, because curing is usually skipped in the gap between visits.
How many concrete cubes should be tested for a house slab?
IS 456:2000 sets sampling by volume: one sample for 1 to 5 cubic metres, two for 6 to 15, three for 16 to 30, four for 31 to 50, and four plus one more for each further 50 cubic metres. Each sample is three cubes under IS 516. A typical house slab pour therefore justifies at least three samples, and the cubes should be visible on site in a water tank.
What is the minimum concrete cover for reinforcement?
Table 16 of IS 456:2000 gives nominal cover by exposure: 20 mm mild, 30 mm moderate, 45 mm severe, 50 mm very severe and 75 mm extreme. Column reinforcement needs at least 40 mm regardless, and surfaces cast against earth at least 50 mm. Measure it with a tape before shuttering closes, on the hidden faces as well as the visible one.
The finished house looks perfect. Does that mean it was built well?
Not on its own. Finishes are applied last and by different trades, so a beautifully plastered and painted house can sit on a slab that was cured for three days and reinforcement with no cover on one face. Finish quality tells you about the finishing crew. Structural quality is only knowable from what was checked and recorded before it was covered.
What records should I ask my contractor to hand over?
The soil investigation report for your plot, mill test certificates for each steel lot, slump readings and 28-day cube results for every pour, dated photographs of reinforcement before shuttering closed, pressure test results for plumbing, and ponding test records for wet areas. Ask for these at the start, not at the end, because most of them cannot be created retrospectively.
Can I still check anything if the concrete has already been poured?
Some things. A cover meter can locate reinforcement and measure cover through hardened concrete, and a structural consultant can carry out rebound hammer and core tests if there is genuine concern about strength. All of it is slower, more expensive and less conclusive than a five-minute look before the pour, which is why the timing matters more than the technique.
Sources
- IS 456:2000, Plain and Reinforced Concrete — Code of Practice, Bureau of Indian Standards — clauses 6.1.1, 11, 13.5, 15.2, 26.4, Tables 3, 5 and 16
- IS 516, Method of Tests for Strength of Concrete — cube size, curing, age at test and rate of loading
- IS 1199, Methods of Sampling and Analysis of Concrete — slump cone dimensions, layers, tamping and working ranges
- IS 1786:2008, High Strength Deformed Steel Bars — grade table, yield stress, tensile strength and elongation
- IS 2502, Bending and Fixing of Bars for Concrete Reinforcement — hook length, bend allowance and minimum bend radius
- IS 456:2000 nominal cover, Table 16 — cover values by exposure condition
- MAUSAM (IMD journal) — Study of rainfall features over Goa state during southwest monsoon season
- Lodha — Ways to check the construction quality of your new home
- Confident Group — Tips to check the construction quality of a house
Ask us what we photograph and when. It is a fair question to ask any builder.